The NFT Building Process: How to Create Your Own Digital Assets with an NFT Builder
Table of Contents
The world of digital assets has been revolutionized by NFTs (Non-Fungible Tokens). These unique, blockchain-based tokens have transformed the way we create, buy, and sell digital art, music, collectibles, and even virtual real estate. If you’re looking to create your own NFT, you’ll need an NFT builder—a tool or platform that simplifies the process of designing, minting, and deploying NFTs on the blockchain.
In this guide, we’ll walk you through the NFT building process, from concept to marketplace listing, using an NFT builder.
1. Understanding NFT Builders and Their Use Cases
Before diving into NFT creation, it’s essential to understand what makes an NFT unique. Unlike cryptocurrencies such as Bitcoin or Ethereum, NFTs are non-fungible, meaning they are one-of-a-kind and cannot be exchanged on a one-to-one basis. Each NFT contains unique metadata that certifies its authenticity and ownership on the blockchain.
NFTs are widely used for:
– Digital art (illustrations, animations, and generative art)
– Virtual real estate in metaverse worlds
– Gaming assets like skins and weapons
– Collectibles, such as trading cards
If you have a digital asset that you want to tokenize, an NFT builder can help turn it into an NFT in just a few steps.
2. Choosing the Right NFT Builder
There are several platforms available for creating NFTs, each catering to different needs, but we firmly believe in our:
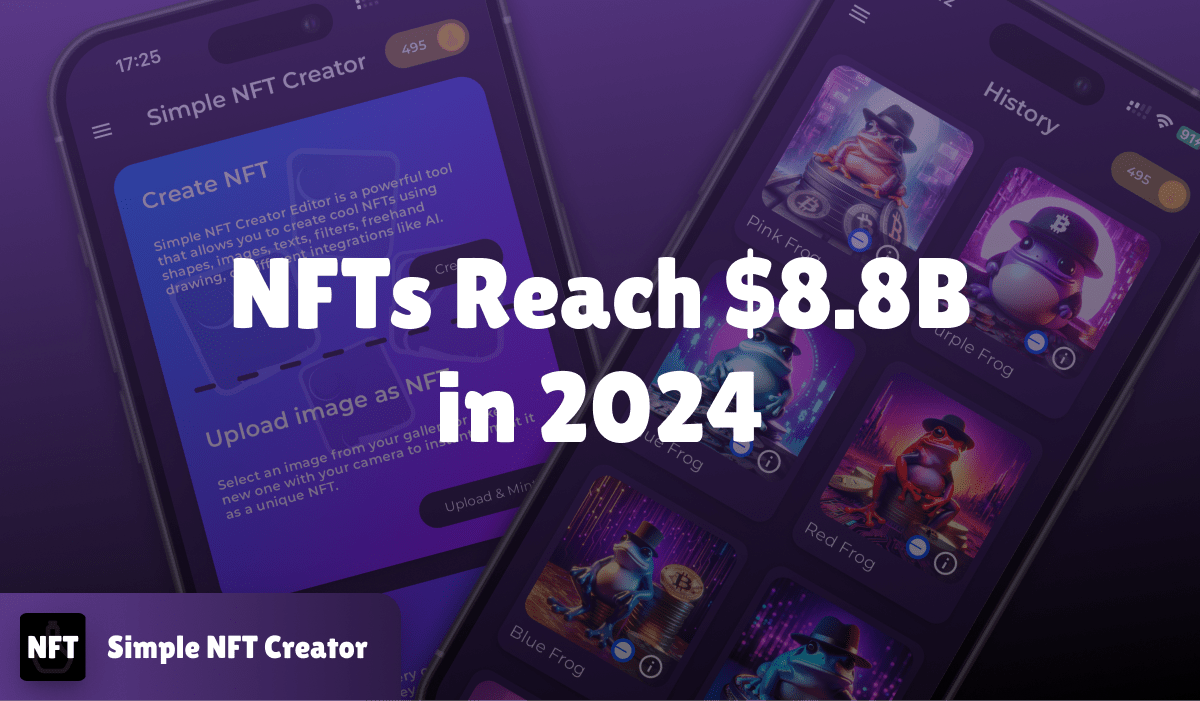
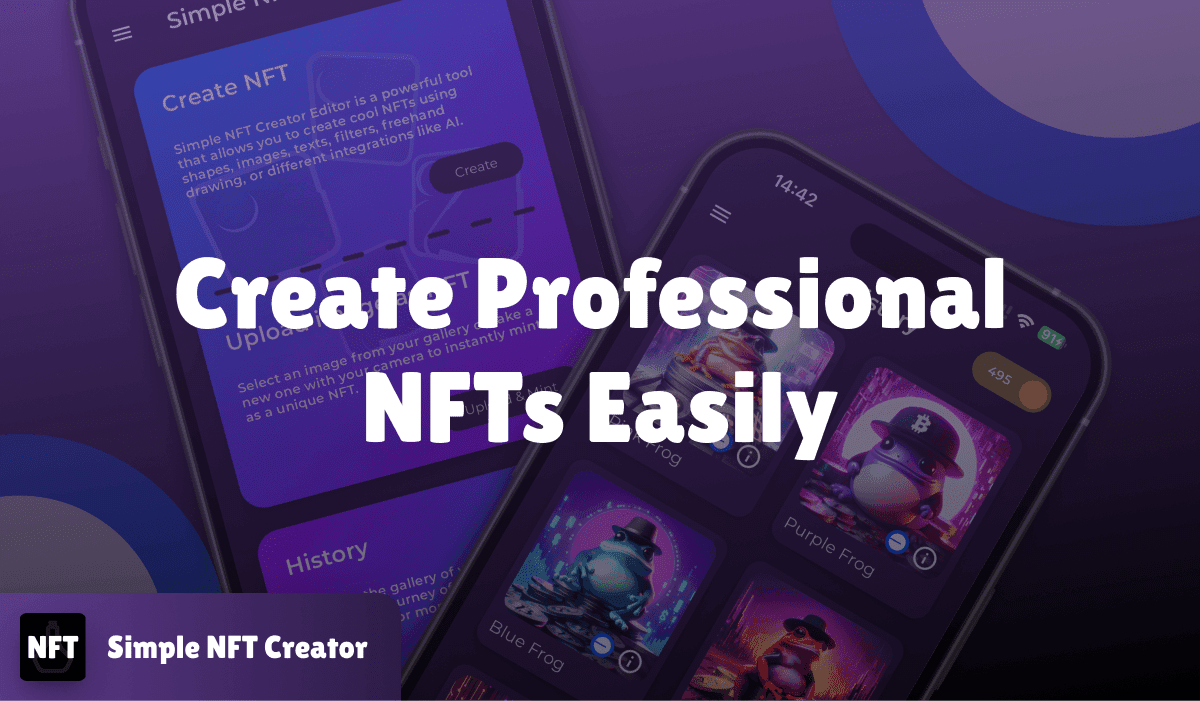
Simple NFT Creator – A user-friendly platform that allows creators to generate NFTs without coding.
When selecting an NFT builder, consider factors like blockchain support, fees, and customization options.
![]()
![]()
3. Designing Your NFT
Once you’ve chosen our NFT builder, the next step is designing your digital asset. Here’s what you need to keep in mind:
File format – Simple NFT Creator currently supports image formats such as PNG and JPG for NFT creation.
Resolution and quality – Ensure high-quality resolution to enhance the visual appeal.
Rarity and attributes – If creating a collectible series, define unique traits that add value to your NFTs.
4. Minting Your NFT with NFT builder
Minting is the process of converting your digital asset into an NFT on the blockchain. Using an NFT creator, you can follow these simple steps:
– Upload your digital file – Select your image-based artwork (PNG or JPG).
– Set metadata – Add a title, description, and any special attributes or unlockable content.
– Choose the blockchain – Popular options include Ethereum, Polygon, Solana, and Binance Smart Chain.
– Set royalty fees – Define how much commission you’ll receive when your NFT is resold.
– Confirm and mint – The NFT builder will generate your NFT and register it on the blockchain.
5. Listing and Selling Your NFT
After minting your NFT, it’s time to list it on an NFT marketplace. Most NFT builders allow direct integration with platforms like OpenSea, Rarible, and Foundation. Here’s how to maximize your chances of selling:
– Optimize your listing – Write a compelling title and description with relevant keywords.
– Promote your NFT – Share it on social media, NFT forums, and Discord communities.
– Set a competitive price – Research similar NFTs and price accordingly.
Creating an NFT is now easier than ever, thanks to NFT builders that simplify the process. Whether you’re an artist or digital creator, an NFT maker can help you tokenize your visual work and bring it to the blockchain. By understanding the design, minting, and selling process, you can successfully launch your NFT collection and tap into the growing digital asset market.
Ready to create your first NFT? Choose Simple NFT Creator as your designated NFT builder and start your journey today!